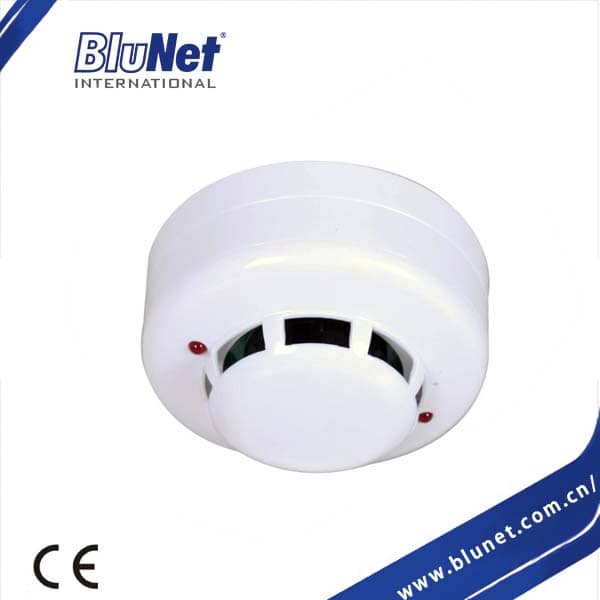
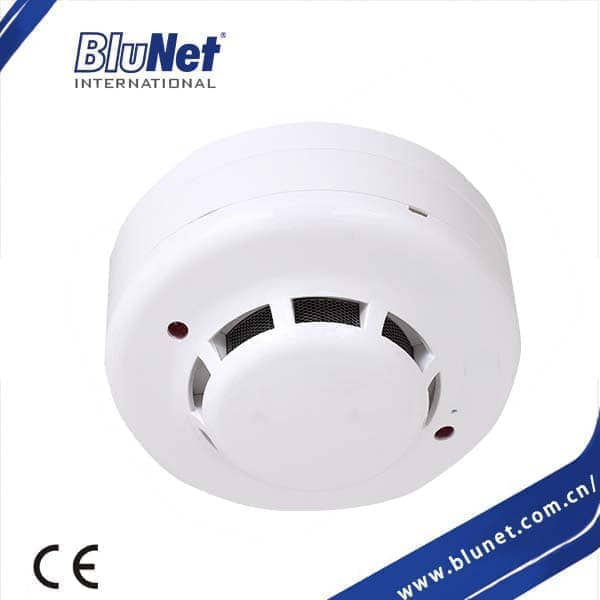
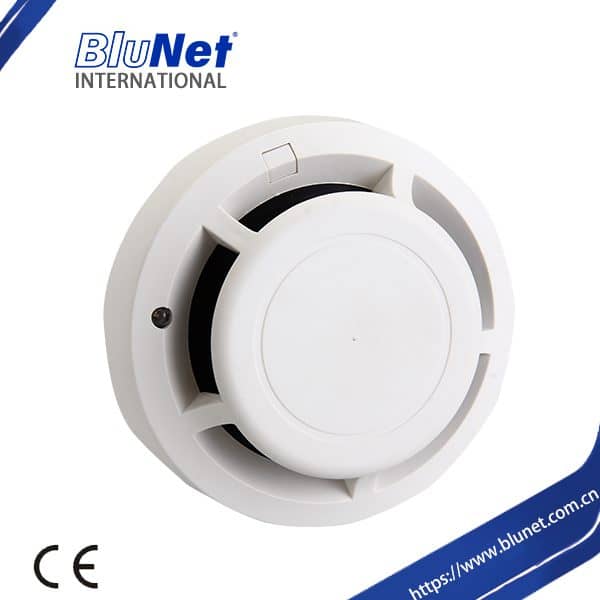
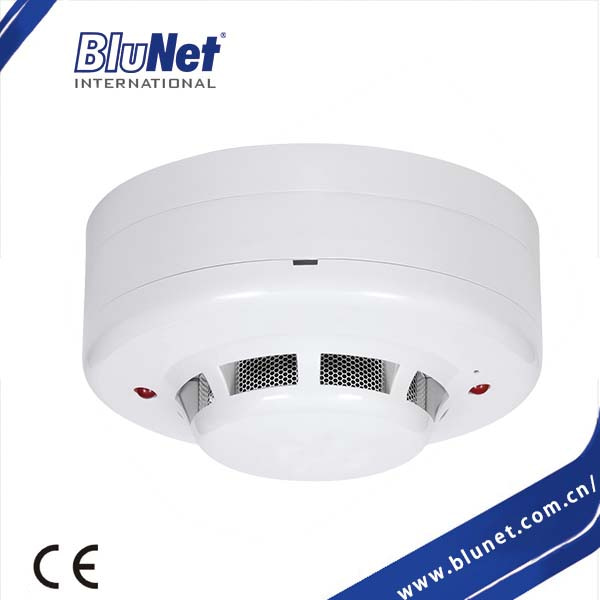
Optical Smoke Detector DSW98D
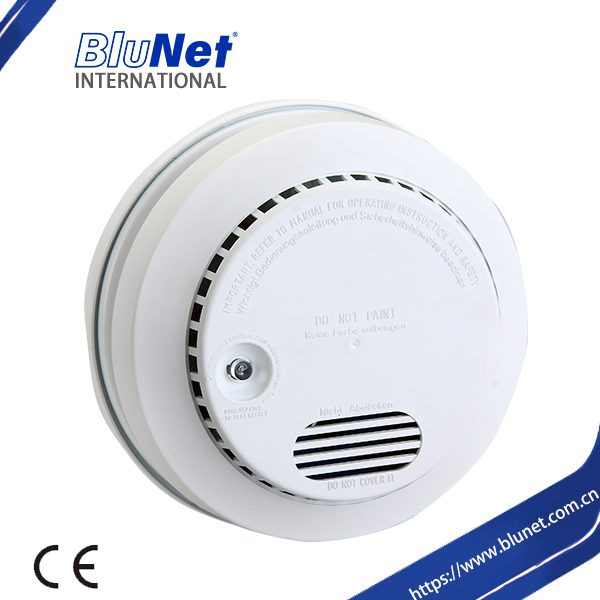
The Optica Smoke Detector, also known as a photoelectric smoke alarm, is more effective in detecting smouldering fires that tend to smoulder over an extended period before igniting flames.
DSW is a manufacturer that offers a diverse range of optical and ionization smoke detectors suitable for various applications.
Our smoke detectors are designed to deliver high performance and are available in two primary types: optical smoke detectors and ion chamber smoke detectors.
Burning cigarettes on couches or bedding is frequently identified as a typical source of such fires. Notably, this product complies with the ISO/DIS 12239 Standard.
The Detector employs an infrared photoelectric chamber to detect scattered light emitted by minute smoke particles or other aerosols.
Installation of the unit is straightforward, requiring the use of the provided screws to mount it onto either the ceiling or wall.
Feature:
Photoelectric Sensing Technology:
Quick Response to Visible Smoke:
Reduced False Alarms:
Low Maintenance:
The Optical Smoke Alarm has an onboard siren with a sound intensity exceeding 85 decibels (dB), ensuring a loud and attention-grabbing alarm.
Additionally, LED indicators are incorporated to provide visual indications.
HOW TO INSTALL SMOKE ALARMS
Tools you will need:
*Pencil *Drill with 6.5mm drill bit *Standard/Flathead screwdriver *Hammer
1. Hold the base firmly, push the hinge in, then turn anti-clockwise to release the base down.
2. Hold the smoke alarm base against the ceiling(or wall) and mark the centre of each mounting slot with a pencil.
3. Place the unit so it won’t get covered with dust when you drill the mounting holes.
4. Using a 6.5mm drill bit, drill a hole through each pencil mark into 35mm deep.
5. Insert the plastic screw anchors into the holes and tap them gently with a hammer. Tighten the 3*30 screws into the screw anchors, then loosen them two turns.
6. Slide the smoke alarm base up to the screw heads, end up in the narrow ends of the mounting slots, then tighten the screws completely.
7. Insert the 9V battery into the box. Make sure the red pry is under the battery so it is stable. Diagram 3.
8. Ensure you insert the battery before you install the alarm, or you will destroy the unit.
9. Close the cover with the alarm according to Diagram 4, and then finish your installation.
This smart smoke detector is designed to detect smoke promptly using its photoelectric sensing technology. Upon seeing smoke on two separate occasions, it immediately generates a signal and activates the connected unit. This proactive warning system enables users to receive early notifications of potential fire incidents, helping them prevent unwanted losses and ensuring their safety and convenience.


